Learning to clean a hamster’s cage is a rite of passage that every hamster owner will need to go through; you can’t have a hamster unless you are willing to change their cage. That said, cleaning your hamster’s cage is made painless when following these professional cage cleaning tips.
Cleaning a hamster’s cage is made easy with these 10 pro tips:
- Cage choice
- Create a plan
- Secure your hamster while cleaning the cage
- Remove all loose items from the cage
- Dispose of the bedding
- Disinfect the cage
- Replace the bedding
- Clean the sand bath
- Disinfect toys
- Clean bowls
Most people are put off having hamsters because hamsters smell or at least the cages always seem to smell, and the chore of cleaning the hamster cage is unappealing. However, good cage hygiene is essential to managing “Eu De’ Hamster Cage,” and the task is made easier if you learn how to clean the cage like a pro with these ten tips.
Table of Contents
Ten Pro Tips For The Easiest Way To Clean A Hamster Cage?
Practicing good hamster hygiene includes all the daily, weekly, and monthly tasks required to keep your hamster’s housing arrangements in pristine condition.
Dividing the cage cleaning tasks into daily, weekly and monthly activities means that each job can be completed more quickly as the manure, dirt, and general mess has not had time to build up to enormous proportions.
The pro tips outlined in this article describe the best way to deep clean a hamster’s cage.
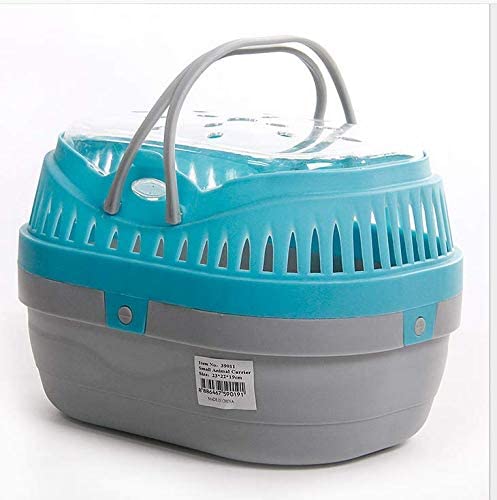
1. Choose A Hamster Cage That Is Easy To Clean
The first step to setting yourself up for a pain-free cage cleaning experience is choosing the right hamster cage.
When choosing a cage for ease of cleaning, the four factors to consider are:
- Are the cage surfaces easily accessible?
- Are the cage materials easy to disinfect?
- Can you easily access and remove old bedding?
- Is the cage unwieldy or heavy to move?
Habitat cages with convoluted tubes and tunnels are great fun for hamsters but more time-consuming to clean. The tunnels need to be taken apart when performing a deep clean and all the curvy internal and external surfaces disinfected.
Non-porous cage materials are less prone to developing mold, bacterial growth, and moisture damage. Hard non-porous surfaces like glass are the easiest to disinfect; simply spray the disinfectant on and wipe it down.
Whereas porous surfaces, like wood, often need to be soaked and then dried in the sun. Wood surfaces are also more prone to moisture damage, mold growth, and bacterial contamination.

Some cages have large doors on the side or roof of the cage, whereas others have a detachable bottom tray. Cages with detachable bottoms are easier to clean, as the tray can be unclipped and the old bedding tipped out; no need for time-consuming scooping of stray bedding flakes.
Lastly, a deep clean often necessitates moving a cage around so that you clean under the cage or even move the cage into the sun or outside for vigorous cleaning. Cages that are excessively large or heavy can make the process virtually impossible.
Always look for a cage that easily fits through doorways and is light enough for a single or at most two people to carry out.
2. Decide How You Plan To Clean Your Hamster’s Cage
One of the essential tips, pros emphasize, is preparation. Knowing how thorough the clean is allows you to assemble all the equipment you need to clean your hamster’s cage; you won’t waste time looking for a lost item or trying to make a plan because one of your cleaning supplies is finished.
When doing a deep clean on your hamster cage, you will need:
- Pet safe disinfectant
- A scrubbing brush
- Two towels/cloths
- Gloves and dust mask (if necessary)
- Replacement bedding
- An old sheet
- A cardboard box
- Your hamster’s travel cage or exercise ball
- Fresh food and water
- New sand for the sand bath
When preparing to clean your hamster’s cage, always ensure you have sufficient time in your schedule to do a thorough job. The time required to clean a cage depends on the extent of the cleaning process:
- A quick daily clean takes 10 to 15 minutes
- A weekly bedding change takes 30 minutes to 1 hour
- An intensive deep clean takes 1 to 2 hours, depending on how elaborate your hamster setup is.
3. Keep You Hamster Safe While Cleaning Its Cage
The next step to take before beginning the actual process of cleaning the cage is to secure your hamster. Hamsters have a heart-stopping habit of disappearing the moment you take your eyes off them!
Knowing your hamster is safe and staying in the place you last saw them allows you to focus on cleaning their cage. Cleaning a hamster cage can take twice as long if you keep having to go and find your wandering pet.
Most experienced hamster owners believe the easiest and best way to keep a hamster safe while cleaning the cage is to put them into a travel container. There are two basic types of travel cages, which you can choose from:
- A plastic cage with a clear top that allows you to check on your hamster while cleaning the cage.
- A canvas and plastic travel bag, some hamsters will attempt to chew their way out and may succeed if the travel bag is made of canvas.
4. Remove All Toys, Wheels, And Loose Items From The Cage
Once you have put your hamster in their temporary residence, you will need to remove all the toys, wheels, and other loose items from your hamster’s cage, including their water and feed bowls.
Place all the loose items into the cardboard box. The box keeps all the toys in the same spot and prevents you from losing any toys or forgetting to put a toy back in your hamster’s cage.
If you are working in a space-restricted area, the box allows you to put all the toys onto a table or cupboard, leaving you with more space to work in.
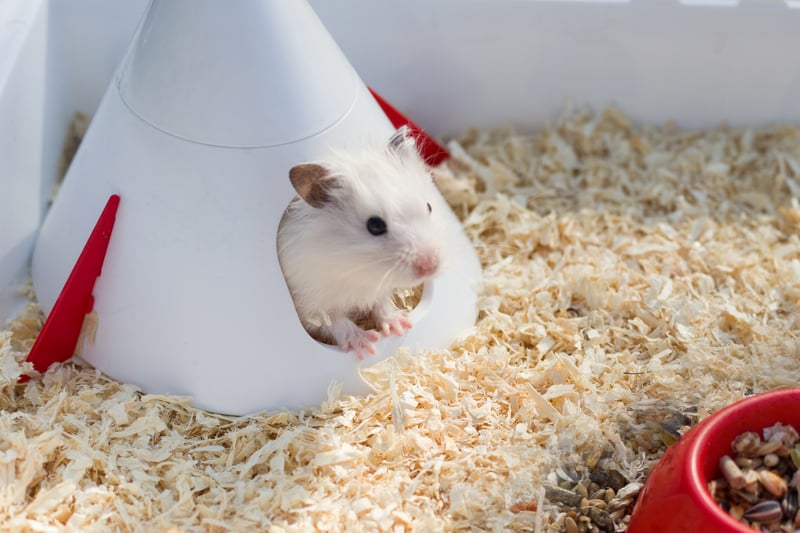
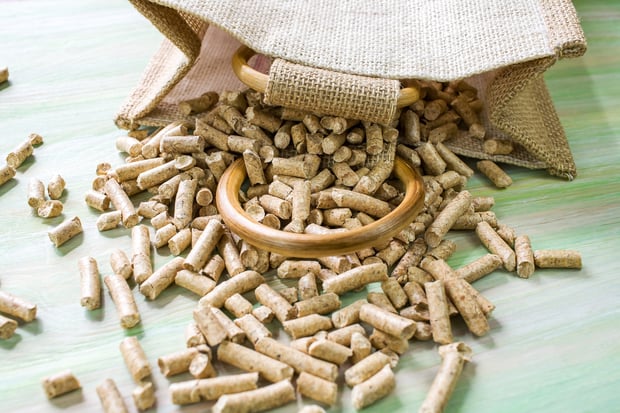
5. Remove The Hamster’s Bedding From The Cage
Removing the bedding from the hamster’s cage is the smelliest part of the job and the messiest. To help with the inadvertent mess, place an old sheet under the cage. Any stray flakes of bedding can be easily bundled up in the sheet and transferred to the dustbin.
When working with a hamster’s bedding, it’s important always to wear gloves. People with breathing difficulties or dust allergies may also want to wear a dust mask while completing this task.
Remove the old bedding from your hamster’s cage and empty it into a biodegradable garbage bag.
6. Disinfect The Hamster’s Cage
Effective hygiene means that just cleaning the dirt is insufficient; it is essential to tackle the “invisible” spores, bacteria, and virus particles.
You can use a specialized cage cleaning formula when performing a deep clean on a hamster’s cage. However, if you are disinfecting the cage because your hamster was ill, ask your veterinarian to recommend a veterinary-grade disinfectant to use.
Most disinfectant and cleaning sprays require you to spray the surfaces of the cage and leave them to soak for 5 to 20 minutes. Once the disinfectant has had a chance to work, you can take your brush and scrub the cage.
Some disinfectants require you to take a wet cloth and wipe off excess chemicals to prevent them from irritating your hamster’s sensitive skin, nose, and eyes. It is essential to wait for the cage to be completely dry before placing the fresh bedding into the cage.
7. Replace The Hamster’s Bedding
Once the cage has thoroughly dried, you can go ahead and put fresh bedding in for your hamster. Regardless of the type of bedding you use, it should be mold-free, dust-free, and thick enough to allow your hamster to bury into the bedding.
8. Clean The Hamster’s Sand Bath
If your hamster’s sand bath smells off and has large sand clumps, it is better to discard all the sand and replace it with fresh sand.
However, if the sand still looks relatively clean and fresh, you can use a sieve to separate the larger clumps of dirty sand and stool from the loose sand granules. Remember to top up the sieved sand to replace the portion that was removed when you used the sieve.
It would be best if you replaced sand in sand bathes entirely at least once a week.
9. Clean And Disinfect The Hamster’s Toys And Wheels
People often ask if they can use baby wipes to clean their hamster’s toys. However, there is some controversy surrounding the issue, as some people say it leaves a harmful residue on the surfaces, while others claim they have been using baby wipes for years without issue.
If you choose to use baby wipes, use the non-scented baby wipes; however, pet-safe disinfectant wipes are better.
Although wipes are the best option for plastic toys, the “bleach and sun drying” method is better for wooden toys.
10. Clean And Refill The Hamster’s Food And Water Bowls
You should clean your hamster’s food and water bowls in hot water with a drop of pet-safe dish soap. Ensure the bowls are free of dish soap residue and dry thoroughly before refilling and putting them back in the cage.
Your hamster can now move back into its beautifully clean cage!
How Often Do You Have To Clean A Hamster Cage?
Daily hamster cage cleaning activities:
- Spot clean and remove clumps of dirty bedding from your hamster’s toilet area.
- Rinse out food and water bowls and fill them with fresh food and water.
Weekly hamster cage cleaning activities:
- Change the bedding and sandbox
- Wipe down toys, wheels, and loose cage items
Monthly hamster cage cleaning activities:
- A deep cage clean, as described in this article
Conclusion
Cleaning your hamster’s cage is a non-negotiable chore for responsible hamster owners. Not only does good hygiene keep you and your hamster healthy, but it also helps to minimize the unpleasant odor associated with a dirty hamster cage. Although non-negotiable, cleaning your hamster’s cage doesn’t have to be a burdensome chore if you stick to a routine and follow the steps outlined in this article.